4M Toysmith Green Science Windmill Generator Kit Review – Best DIY Wind Power STEM Toy for Kids
4M Toysmith Green Science Windmill Generator Kit Review – Best DIY Wind Power STEM Toy for Kids
Looking for a hands-on STEM activity that teaches renewable energy while letting your child build something they can see light up?
 on this page.")
Product Overview
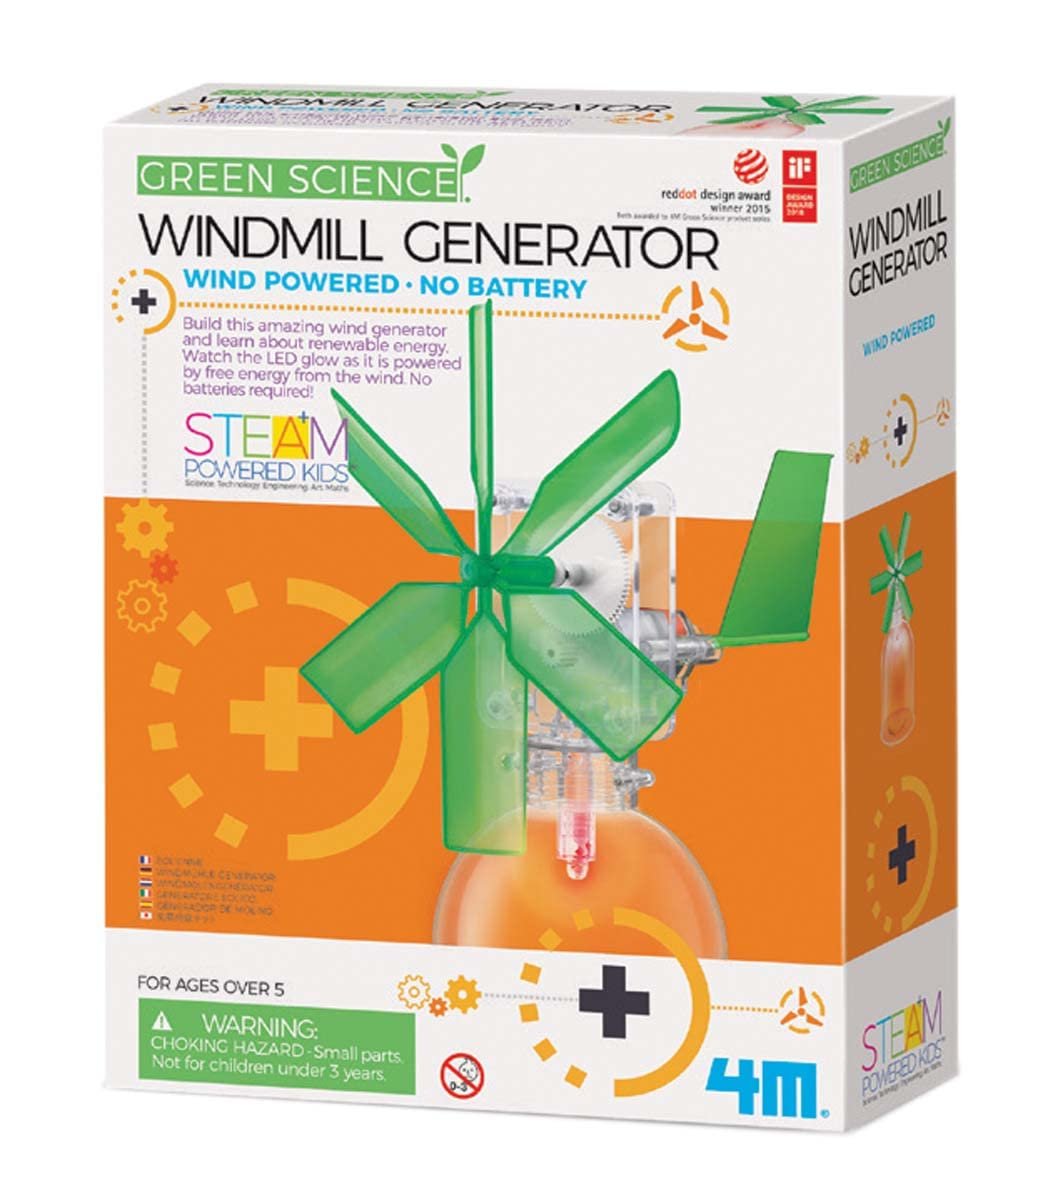
This kit is the 4M Toysmith, Green Science Windmill Generator Kit, DIY Science Kit With LED Lights, For Boys & Girls Ages 8+ (Packaging May Vary). It asks you to repurpose a recycled plastic bottle and turn wind into electricity that lights an LED, making the science behind renewable power visual and memorable.
What the Kit Promises
You get the parts and instructions to build a 5-inch windmill generator that lights an LED bulb using no batteries. The enclosed pamphlet includes fun facts about renewable energy so you can have short, meaningful conversations with your child about wind power and sustainability while you build.
Who This Is For
This kit is recommended for ages 8 and up, which means you can expect the project to be appropriate for upper-elementary and middle-school kids with some adult guidance. If your child loves hands-on projects, inventions, or simple circuits, this kit gives you a compact, safe way to practice those interests.
Key Features
Here you’ll find a concise breakdown of the product’s main features so you can quickly see what the kit includes and what it requires from you. This helps you decide if it fits your child’s skill level and your family’s goals for learning.
Main Components and Highlights
The kit includes the plastic pieces to assemble the windmill, a small generator unit, wiring, and an LED light; you supply a recycled plastic bottle as the stand and some wind (or a fan) to turn the blades. Detailed assembly instructions are included, and the booklet contains renewable energy facts that complement the hands-on lesson.
Assembled Size and Materials
When built, the windmill measures about 5 inches tall, making it a desktop-sized demonstration that doesn’t take up much space. Materials are primarily molded plastic and small metal components in the generator, so it’s lightweight and transportable.
")
Specifications at a Glance
This table helps you compare quick facts and practical details before you buy or start building.
| Specification | Details |
|---|---|
| Product Name | 4M Toysmith, Green Science Windmill Generator Kit, DIY Science Kit With LED Lights, For Boys & Girls Ages 8+ (Packaging May Vary) |
| Recommended Age | 8+ (some materials note may be suitable with supervision for younger children) |
| Assembled Height | Approximately 5 inches |
| Power Source | Wind (no batteries) |
| Output | Small LED light (included) |
| Requires | Recycled plastic bottle (not included), some adult help for younger builders |
| Educational Focus | Renewable energy, basic circuitry, engineering, recycling |
| Packaging | Varies (may affect outer box look only) |
| Time to Assemble | ~30–60 minutes depending on age and skill level |
This table gives you a quick takeaway on setup and expectations so you can prepare materials and time before you begin the activity.
Unboxing & First Impressions
Opening the box sets the tone for the activity, and you’ll want to know what to expect right away. The experience should be straightforward and not overwhelming for a typical child in the recommended age group.
Packaging and Presentation
Packaging may vary, but the kit typically arrives with parts organized in small bags and an instruction pamphlet on top. The pieces are simple and clearly labeled, which helps reduce initial confusion and keeps you moving through the build.
Condition and Quality of Parts
At first glance, the plastic parts are durable enough for small hands and repeated demonstrations, and the small generator feels solid for its size. The LED and wiring are basic but functional—this is an educational model, not a high-performance gadget—so expect practical quality suitable for learning.
")
Assembly Process
You’ll probably enjoy guiding the assembly, which is where the educational value and the most fun happen. The build gives you multiple teachable moments about components and how mechanical motion becomes electrical energy.
Preparing Your Workspace
Before you start, clear a flat surface and gather the recycled plastic bottle you’ll need—typically a standard soda bottle works well. Have scissors, tape or a small screwdriver handy if the instructions suggest any trimming or tightening, and make sure you and your child have 30–60 minutes of uninterrupted time.
Step-by-Step Experience
The kit’s instruction pamphlet is illustrated and written for kids, so you can follow along together with minimal adult intervention. The build involves snapping and fitting plastic parts, attaching the generator and wiring, mounting the blades, and securing the assembly to the bottle; when finished, you’ll test it in windy conditions or with a fan.
Difficulty and Time Commitment
Expect a hands-on challenge that rewards patience: younger children will need help aligning parts and threading small wires, while older kids may complete the project more independently. If this is the child’s first engineering project, plan for close guidance; repeat builds become faster as they gain confidence.
Performance & Operation
After the assembly, you’ll evaluate how well the windmill generates enough electricity to light the LED and how sensitive the unit is to wind.
How the Windmill Responds to Wind
The blades rotate in moderate wind or when placed in front of a household fan; you’ll notice the LED glow when the generator reaches sufficient RPMs. It’s not designed to power large loads, but it reliably produces enough current for the included LED under reasonable wind conditions.
Testing in Different Conditions
You can test the windmill outdoors on a windy day or inside with a fan; you’ll get faster, more consistent results with a steady breeze. The kit is great for comparing how wind strength and blade angle affect performance, and you can try small adjustments to see measurable differences.
What to Expect from the LED
The LED provides a satisfying visual indicator that power is being generated, and you’ll see the intensity vary with wind speed. Because the LED requires only a tiny current, it lights up easily; this immediate feedback keeps kids engaged.
")
Educational Value
You’re buying more than a toy: you’re investing in an interactive lesson about green energy and engineering principles. The kit brings theoretical ideas into the real world with a visible outcome.
STEM Concepts Taught
You and your child will cover basic electricity, electromagnetism, mechanical-to-electrical energy conversion, aerodynamics of blades, and concepts of renewable vs. non-renewable resources. These lessons are reinforced by the hands-on nature of the build and the pamphlet’s fun facts.
Skills and Learning Outcomes
From fine motor skills used during assembly to problem-solving and critical thinking when testing and tweaking the windmill, the kit supports multiple learning domains. You can expand the lesson by measuring outputs with a multimeter, charting results, or forming hypotheses about blade design.
Curriculum Connections
The kit can supplement classroom units on energy or be used for at-home science projects. You can align the activity with common educational standards for physical science and engineering design by having your child document the steps, record data, and present findings.
Safety & Age Appropriateness
Safety matters when working with small parts and young builders. The kit is generally safe but requires supervision for younger kids, especially with small pieces and wiring.
Small Parts and Supervision
Since the kit contains small components and thin wires, keep it away from children under three and supervise anyone who may place parts in their mouth. Adult oversight ensures correct assembly and reduces the chance of lost or misplaced components.
Electrical Safety
The LED operates on low voltage generated by the tiny generator, so there’s no need for batteries or external electrical sources. You still should teach basic electrical safety—no short-circuiting and careful handling of exposed wires.
")
Troubleshooting & Common Issues
You’ll likely encounter simple issues that are easy to fix if you know where to look. Troubleshooting helps build resilience and deepens understanding as children learn to test and iterate.
The LED Doesn’t Light
If the LED won’t light, first check that the wires are seated properly and that the LED’s polarity is correct. Try placing the assembly in front of a stronger fan or outdoors on a windier day, and confirm that the blades are not jammed or rubbing against the housing.
Blades Don’t Spin Smoothly
If the blades hesitating or rubbing, ensure nothing is obstructing the hub and that the blades are seated evenly. Use small adjustments to balance and align them; sometimes a small twist or trimming rough edges solves the problem.
Loose Connections
Wires may come loose during handling; gently reattach them following the diagram. If a connection looks frayed, you can strip a tiny bit of insulation and reinsert the wire for a better contact, but do this only with adult supervision.
Tips to Get the Most Out of the Kit
With a few small tweaks, you can expand the learning and keep the activity fresh for multiple sessions. These ideas let you turn a single build into ongoing experiments.
Use Household Fans to Control Wind
If outdoor wind is unreliable, use a steady household fan at different speeds to measure how the LED responds. You can set up repeatable trials by marking fan distance and speed to gather consistent data.
Try Different Bottles and Angles
The shape and size of your recycled bottle can affect how the windmill stands and how it faces the wind. Experiment with bottle height and blade tilt to see how performance changes, teaching your child about iterative design.
Add a Multimeter for Measurement
If you have a multimeter, use it to measure voltage and current produced by the generator and convert observations into numerical data. Recording measurements encourages scientific thinking and gives you tangible metrics you can graph or compare.
")
Variations and Extensions
Once you complete the basic build, you may want to expand the project with creative or more advanced challenges. These extensions let you apply the same principles in new ways.
Design a Better Blade
Challenge your child to create blades from cardboard or heavier plastic and compare rotations per minute or LED brightness. Document the changes and talk through why different shapes or materials affect performance.
Solar Hybrid or Storage Idea
Although this kit focuses on wind, you can combine it with a small solar-powered module in a larger project for a lesson on multiple renewable sources. Discuss energy storage and why small-scale harvesting needs efficient storage or immediate use.
Turn It Into a Class Project
If you’re a teacher or group leader, have each student build a windmill and then compare results in a mini fair. You’ll encourage teamwork, public speaking, and scientific reporting.
Pros and Cons
Summarizing the upside and downside helps you make a balanced decision about whether this kit suits your needs.
Pros
- Teaches renewable energy with a tangible outcome that kids can see and test.
- Includes everything you need except for a recycled bottle and the wind source.
- Durable parts and clear instructions make assembly manageable for the recommended age.
- Small size makes it great for desks, classrooms, and small experiments.
Cons
- Output is limited to a tiny LED—this isn’t a power generator for larger devices.
- Younger children will need adult help with small parts and wiring.
- Performance depends on wind conditions, so indoor fans might be required for consistent testing.
- Packaging variance might surprise you if you expected a specific outer box design.
")
Comparison to Similar Kits
You may be looking at other beginner renewable energy or wind turbine kits, so here’s how this one stacks up. The 4M Toysmith kit is positioned as an educational starter kit rather than a high-performance model.
How It Compares on Educational Value
Compared to larger, more expensive wind turbine kits, this one focuses on the essentials: wind-to-electricity conversion and basic circuitry. It’s more affordable and more accessible for home or classroom introductory activities.
How It Compares on Build Complexity
This kit requires basic assembly and is less complex than more advanced models with gears or multiple generators, making it better for younger or less experienced builders. If you want a deeper engineering challenge, look for kits that include gearboxes, storage capacitors, or independent turbine towers.
Who Should Buy This?
This section clarifies whether the kit matches your goals, whether you’re a parent, teacher, or hobbyist.
For Parents and Guardians
You should buy this if you want a short, guided STEM activity that introduces green energy with a fun, hands-on result. It’s ideal for weekend projects, rainy-day activities, or as an educational gift for kids who enjoy building and science.
For Teachers and Educators
If you teach elementary or middle school science, this kit makes an easy classroom demo or small-group activity. It’s portable and inexpensive enough to have several in a classroom for parallel projects.
For Hobbyists and Makers
You’ll appreciate the simplicity if you enjoy quick prototyping or want a small project that can be modified with custom blades or measurement add-ons. Advanced makers may use the kit as a base for larger experiments.
Maintenance and Care
Keeping the kit in good condition ensures you can use it multiple times for teaching or demonstrations. Simple care keeps parts functioning and reduces the risk of lost components.
Cleaning and Storage
Wipe plastic parts with a damp cloth and store small parts in resealable bags or a box to prevent loss. Keep the generator unit dry and avoid exposing it to harsh chemicals.
Parts Replacement
If a blade or connector snaps, you can often substitute household materials or 3D-printed parts for quick fixes. Contact the manufacturer for replacement parts if a key component is missing from the box.
FAQ
A few common questions you or other caregivers may have before buying or during assembly are addressed here.
Can this kit power anything besides an LED?
Not practically—this kit is designed as a demonstration and supplies only a tiny amount of electricity suitable for the included LED. Larger loads require bigger generators and storage.
Do you need to buy batteries?
No, the windmill generates electricity from wind so no batteries are needed. You will need a recycled plastic bottle that acts as the stand, so have one ready before you start.
Is adult assembly required?
Adult help is recommended for younger children, especially for handling wires and ensuring correct connections. Older children in the recommended age range may need minimal guidance.
Final Verdict
If you want a compact, educational, and affordable way to teach your child about renewable energy, this 4M Toysmith windmill kit delivers a hands-on, visual lesson. You’ll get a satisfying build that lights an LED and creates opportunities for ongoing experiments, data collection, and conversation about sustainable technology.
Why You Might Buy It
Buy this kit if you want a practical science activity that’s quick to assemble, safe to operate, and rich in teachable moments. It’s well-suited to family learning, classroom demonstrations, and gift-giving for curious kids.
Why You Might Skip It
Skip it if you expect to power real devices or need a kit with more advanced electronics or structural complexity. If your goal is in-depth engineering challenge rather than introductory demonstration, look for more advanced wind turbine kits.
If you decide to get the 4M Toysmith Green Science Windmill Generator Kit, you’ll likely find it becomes a favorite short project that makes renewable energy intuitive and fun.
Disclosure: As an Amazon Associate, I earn from qualifying purchases.